Course Details
SAN DIEGO GOLF AT CHULA VISTA GOLF COURSE
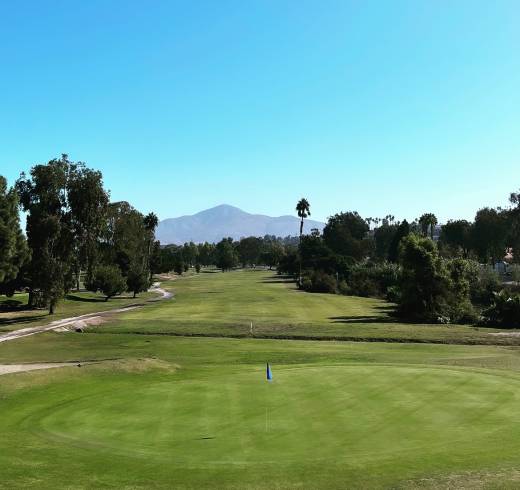
Designed by Billy Casper, Chula Vista Golf Course is one of the best courses to play and one of the best courses to walk in San Diego County. With a demanding slope rating of 130, our 18-hole championship course measures 6,760 yards from the back tees and features a links style layout that brings the Sweetwater River and three lakes into play on 14 holes. One of the few par 73 courses in the county, we have three par 5’s on the front nine and two on the back. To hone your game, Chula Vista Golf Course provides an expansive practice facility complemented by unmatched service and top-notch amenities—everything you need for an exceptional golf experience.


Course Tour
- HOLE #1
- HOLE #2
- HOLE #3
- HOLE #4
- HOLE #5
- HOLE #6
- HOLE #7
- HOLE #8
- HOLE #9
- HOLE #10
- HOLE #11
- HOLE #12
- HOLE #13
- HOLE #14
- HOLE #15
- HOLE #16
- HOLE #17
- HOLE #18

Hole #1
This is a medium-length par 4 with out-of-bounds on the left and a lateral hazard on the right. An accurate tee shot leaves you a mid-to-short iron into a small but receptive green.

Hole #2
On this short but challenging par 5, try to favor the left side of the fairway to protect against the water hazard on the right. Afternoon head winds make this hole difficult to reach in two.

Hole #3
This is a short par 4 that doglegs to the right. Beware – strong afternoon cross winds tend to push drives towards the lake to the right.

Hole #4
Here you’ll find a short par 3 with water on the right and multiple bunkers surrounding the green—the center of the green is your best play for this hole.

Hole #5
A very reachable par 5 that plays downwind to a large green; try to leave your approach shot below the hole since the green slopes heavily from back to front.

Hole #6
This is the hardest hole on the front nine—a long par 4 that plays straight into the wind. A great drive here will still leave you with a mid-to-long iron into a bunkered, but receptive green. Five is not a bad score here.

Hole #7
Another downwind par 5, this hole is a good place to, “Grip it and rip it!” This is one of the few holes on the course with no water to worry about, but be careful—the green slopes heavily from back to front, making three putts a real possibility.

Hole #8
Here you’ll find a very demanding par 4 that doglegs heavily to the left. Be careful of the out-of-bounds that lurks to the left. A good drive will allow you to play a mid-to-short iron into a small green well protected by bunkers.

Hole #9
This par 3 plays much longer than it measures. Players must deal with heavy crosswinds as well as the water hazard just in front of the green. Make sure to take plenty of club.

Hole #10
Your accuracy will be tested as the hole tends to challenge even the best players. Be prepared! Left-to-right crosswinds favors the shape of this dogleg right.

Hole #11
The hardest hole on the back nine, this long par 4 plays straight into the wind. Water lurks along the left side of the fairway, so most players favor the right.

Hole #12
A fair and challenging par 5 that plays downwind to a large and receptive green; this hole is protected by water on the right, so accuracy is at a premium here.

Hole #13
On the shortest par 4 on the course, a good drive over water will leave you with a mid-to-short iron into a very big green. This is a great birdie opportunity!

Hole #14
This is a challenging hole that doglegs almost 90 degrees to the right. An accurate tee shot is a must if you want to avoid the multiple water hazards located throughout the hole.

Hole #15
A fair and rewarding par 3 that plays downwind to a large green. Fair warning: the hole usually plays shorter than it measures.

Hole #16
A medium-length par 4 with trouble on both sides. With multiple bunkers protecting the green, your approach shot is best played to the center of it all.

Hole #17
A true test of skill, the green on this long par 3 is well-protected by bunkers on both sides, as well as a water hazard on the right. Afternoon headwinds make this hole even more challenging, so play your shots wisely.

Hole #18
The last par 5 on the course, the finishing hole at Chula Vista plays directly into the afternoon headwinds. Water hazards located on both sides of the fairway require accuracy off the tee. An accurate approach shot may result in a well-earned birdie to end your round.


